
Add Agent
Register a new AI agent using the setup wizard.
Registering a New Agent
Navigate to Agents → Add Agent or click the + Add Agent button.
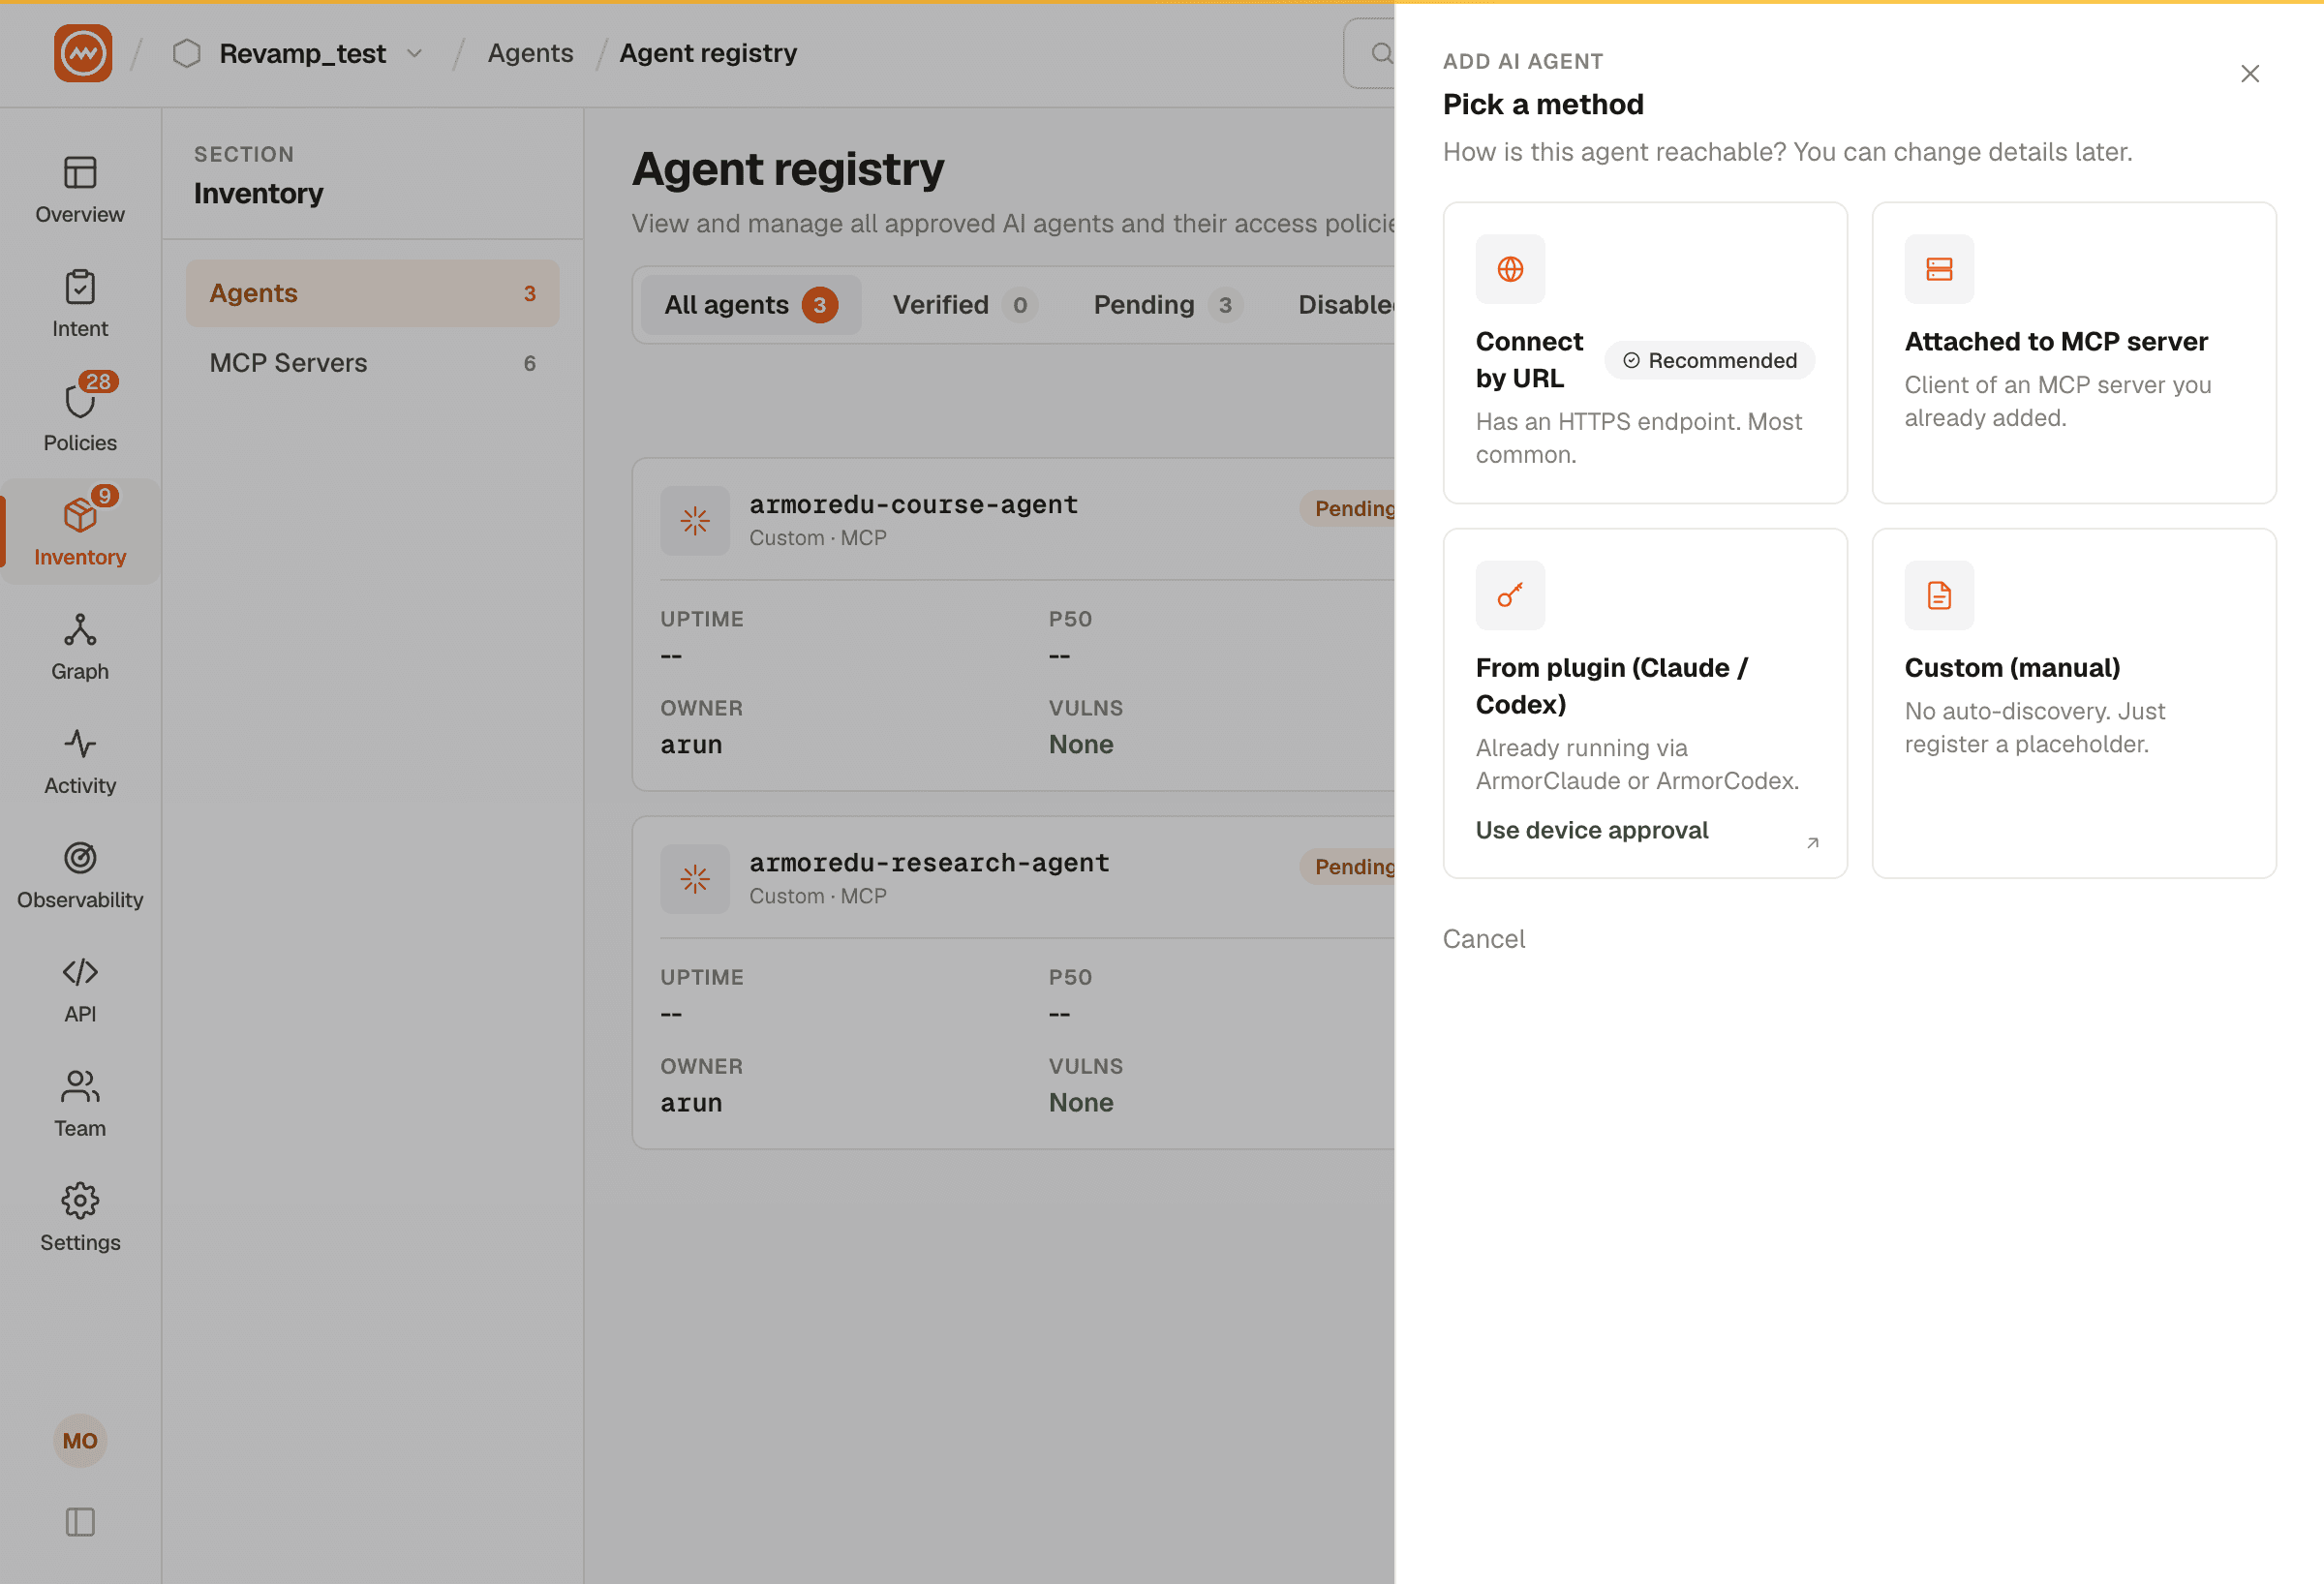
The registration wizard guides you through:
Step 1 - Setup Method
Choose between:
- Manual Configuration - Enter all agent details manually
- Auto-Detect - ArmorIQ validates the URL and detects the framework
Step 2 - Agent Details
| Field | Description |
|---|---|
| Agent Name | Unique identifier for the agent |
| URL | The agent's base URL |
| Environment | Production, Staging, or Development |
| Description | Description of the agent's purpose |
| Framework | Auto-detected (A2A or MCP) or manually specified |
ArmorIQ automatically validates the URL and performs endpoint detection to identify the agent's framework:
- A2A (Agent-to-Agent) - Google's agent interoperability protocol
- MCP (Model Context Protocol) - Anthropic's tool protocol
Step 3 - Capabilities
Configure the agent's capabilities and supported features.
Step 4 - Security Options
Enable vulnerability scanning and configure scan schedules, similar to MCP server setup.