
Add MCP Server
Register a new MCP server using the multi-step wizard.
Registering a New MCP Server
Navigate to MCP Servers → Add Server or click the + Add Server button.
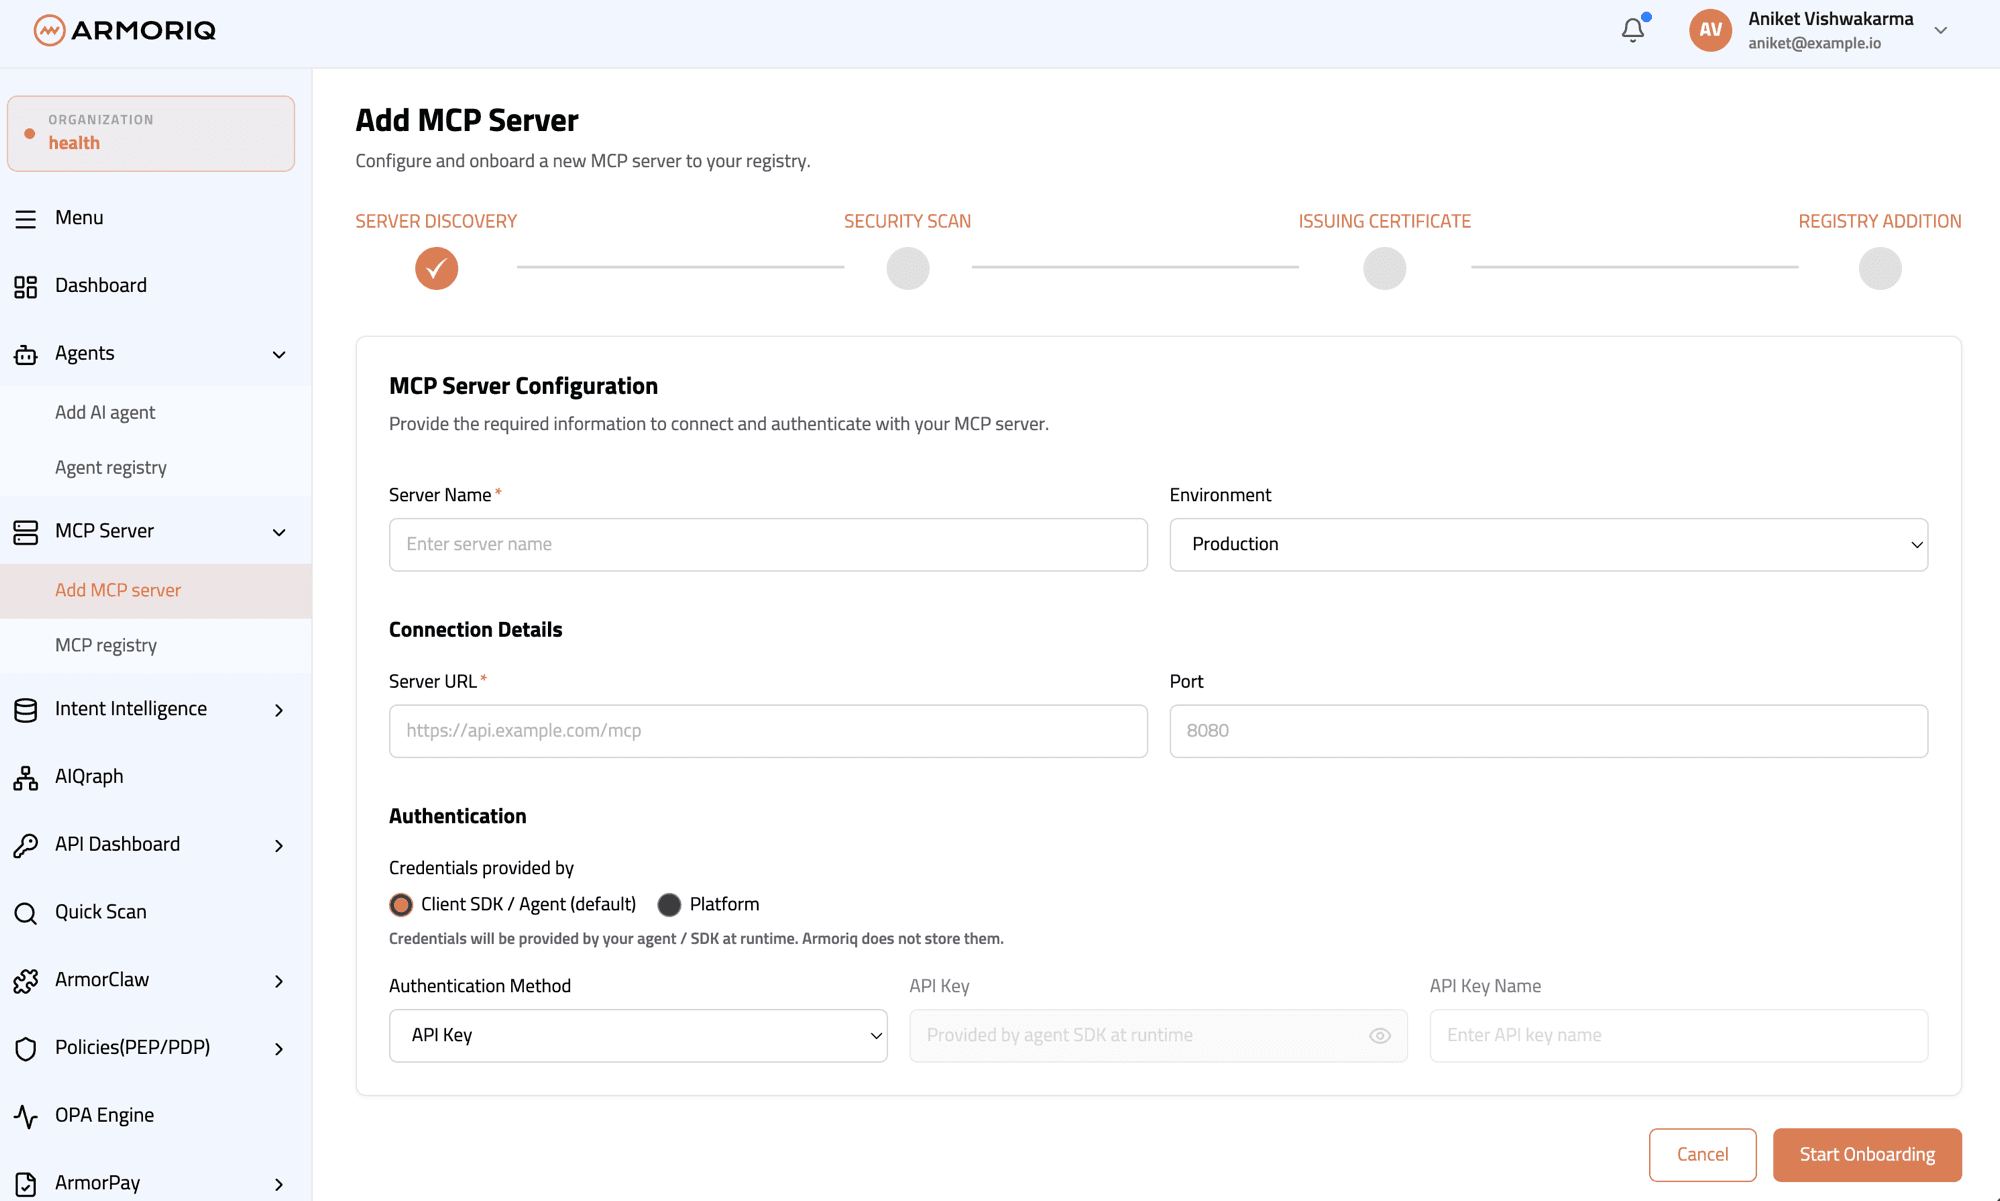
The registration is a multi-step wizard:
Step 1 - Selection
Choose your setup method:
- Manual Configuration - Enter all details manually
- Auto-Detect - ArmorIQ scans the URL and detects configuration automatically
Step 2 - Server Details
| Field | Description |
|---|---|
| Server Name | A unique identifier for the server |
| Environment | Production, Staging, or Development |
| URL | The server's base URL (e.g., https://mcp.example.com) |
| Port | Server port number |
| Protocol Version | MCP protocol version (e.g., 2024-11-05) |
| Auth Method | Authentication method (e.g., API Key) |
| Version | Server software version |
| Repository URL | Source code repository (optional) |
| Description | Brief description of the server's purpose |
Step 3 - Capabilities
Toggle the MCP capabilities this server supports:
- Resources - The server provides resources to agents
- Tools - The server exposes callable tools
- Prompts - The server provides prompt templates
- Sampling - The server supports LLM sampling
Step 4 - Security
- Vulnerability Scanning - Enable automatic scanning
- Auto-Fix - Automatically apply recommended fixes
- Scan Schedule - Set recurring scan frequency
After completing the wizard, ArmorIQ registers the server and automatically triggers the first security scan.